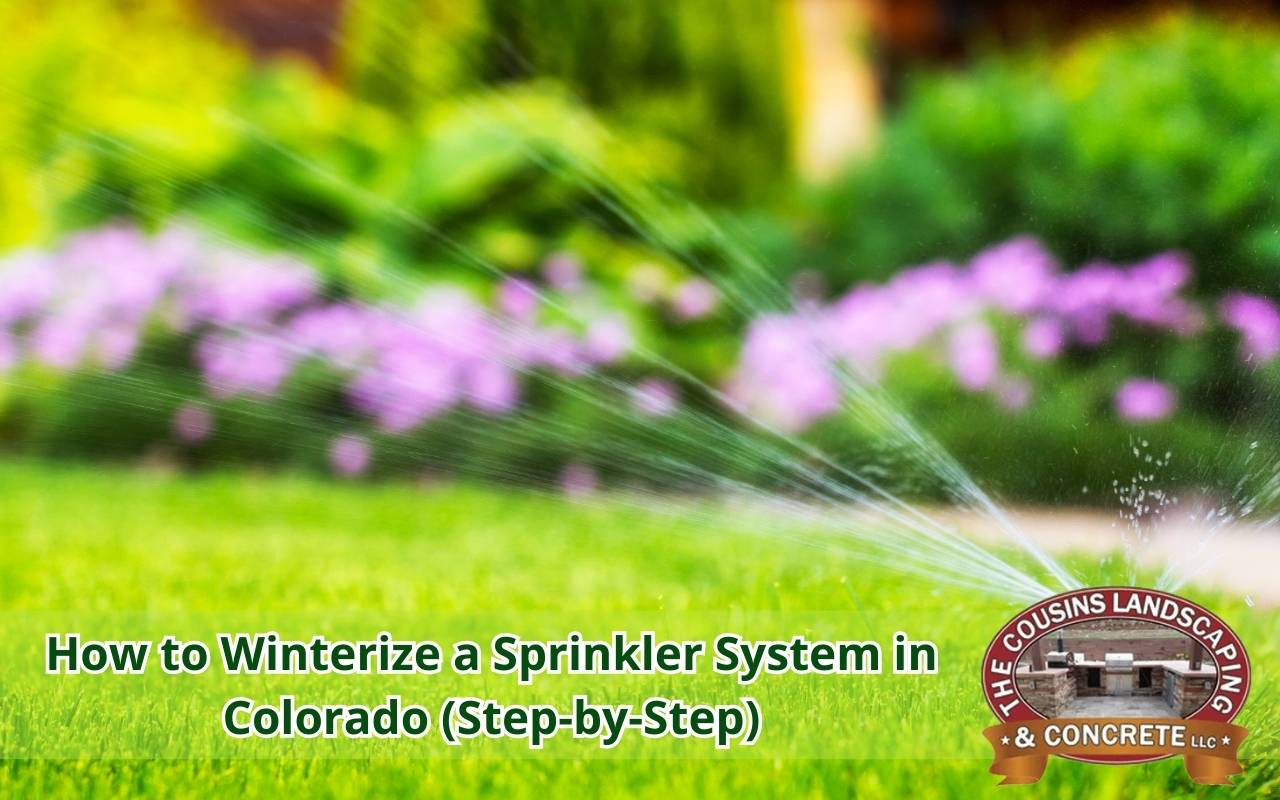
Winter in Colorado can transform the landscape into a picturesque wonderland, yet it can also harm your sprinkler system if unprepared. Every year, many homeowners face costly repairs from frozen pipes and damaged irrigation. Knowing how to winterize sprinkler system Colorado style is key to avoiding these issues. Early preparation helps protect your investment, save water, and keep your lawn healthy when spring arrives. From frozen valves to cracked backflow devices, risks are common and often underestimated. This guide explains every step clearly, equipping you with the knowledge to perform a safe and effective blowout.
Understanding the Importance of Winterizing Your Sprinkler System
Proper freeze protection is essential in Colorado. Sub-zero nights can freeze water left in pipes, valves, and backflow preventers, causing cracks and expensive damage. Repairing burst pipes often costs more than preventative work. Understanding how to winterize sprinkler system Colorado style means adapting to unique climates, from mountain valleys to high plains. Winterization also conserves water and protects drinking supplies from contamination through backflow failures. By fully draining every zone, you ensure both your landscape and your home’s water safety.
Checking the Weather Forecast and Timing Your Winterization
Timing is crucial when shutting down irrigation. In Colorado, late September through early November provides the best window. Watch for forecasts showing consecutive nights below 32°F, and finish winterization at least 48 hours earlier. North-facing yards and shaded corners cool faster, so adjust for microclimates. If you live at higher elevations, start earlier. Completing the task before the first deep freeze ensures your system remains safe and functional.
Gathering the Necessary Tools and Equipment
- Air compressor delivering at least 50 psi with a regulator
- Quick-connect blowout adapter for easy connections
- Hand tools including wrenches, pliers, and screwdrivers
- Insulation foam or weatherproof tape for exposed components
- Protective cover for your backflow preventer
Preparation helps reduce mistakes. Check compressor oil, inspect hoses, and keep tools within reach before starting. These steps ensure a smoother process in colder conditions.
Shutting Off the Water Supply
Locate the main irrigation shutoff valve near your meter or utility box. Turn it off to separate the system from household water. Open a zone valve to confirm water flow has stopped. Drain pressure from lines using manual valves or test ports. This reduces the water volume your compressor must clear during blowout. Close ports afterward to block dirt from entering.
Draining Water from the System
Gravity draining removes bulk water before blowout. Open all manual drain valves and bleeder caps in each irrigation zone. Allow water to escape for at least 10 minutes. Ensure fountains and elevated features drain separately. When drips replace steady flow, most water is gone. Close drains loosely to keep debris out but permit minimal moisture release.
Using an Air Compressor for Blowout
- Attach the compressor to the mainline blowout port.
- Set pressure between 40–50 psi for safety.
- Work zone by zone, releasing water until dry air flows.
- Limit blowout time to two minutes per zone.
- Seal each valve before moving on.
This process ensures each line is cleared safely. Listening for sputters helps detect lingering moisture.
Inspecting and Protecting Backflow Preventers
Backflow preventers block contaminated irrigation water from entering household supplies. During winterization, flush and drain these assemblies. Cover them with rigid insulation or wrap them tightly. Inspect valves for cracks or worn seals, and lubricate moving parts. Protecting these components prevents costly replacements and ensures water safety.
Adding Insulation for Extra Protection
Even after draining and blowout, exposed parts require insulation. Wrap valves, backflow preventers, and test kits with closed-cell foam. Secure with ties or waterproof tape. Insulate controller boxes and rain sensors as well. Heat tape can add protection to plastic manifolds and exposed heads. By addressing these areas, you prevent hidden freeze damage.
Testing the System After Winterization
Conduct a final inspection once all zones are complete. Attach gauges to the blowout port and check for moisture. Inspect every head and valve for leaks. Label your controller clearly to prevent accidental activation. Running a brief low-pressure cycle in late winter helps verify protection measures. Keeping notes ensures easier spring activation and highlights potential weak spots.
FAQs
When should I winterize my sprinkler system in Colorado?
Plan winterization between late September and early November, before nights consistently drop below freezing temperatures.
Do I need an air compressor to winterize?
Yes, using a regulated air compressor ensures complete water removal from sprinkler lines without causing damage.
Can I winterize my system without professional help?
Yes, many homeowners can follow these steps. However, professionals guarantee safety and efficiency, especially for complex systems.
What parts of the system need insulation?
Insulate valves, backflow preventers, exposed manifolds, and controller boxes to prevent freeze-related damage.
How often should I check my sprinkler system?
Inspect annually during winterization and again in early spring before reactivation to ensure everything functions correctly.
Maintaining Your Sprinkler System for Longevity
Winterization and seasonal testing are the keys to extending system life. By following this guide on how to winterize sprinkler system Colorado homeowners can avoid freeze damage, water waste, and unnecessary costs. Regular checks of valves, insulation, and irrigation zones will keep your lawn vibrant every year. For expert help, visit our services page or reach out through our contact page today.