A lush, green lawn can be the crown jewel of your home. It offers a retreat or playful space for children and pets. However, achieving this often feels difficult. Thankfully, DIY sprinkler installation makes it simple and achievable. As a result, this project saves you time, effort, and money. In this guide, you’ll learn components, tips, and benefits that turn lawn care into an easy weekend project.
Understanding the Basics of Sprinkler Systems
Every successful DIY sprinkler installation begins with knowledge of its parts. Specifically, the system includes a main water line, valves, pipes, and heads. Each part ensures water reaches your lawn evenly. For example, pop-up spray heads are best for small spaces. Meanwhile, rotary heads suit larger areas with adjustable arcs. Additionally, drip irrigation is ideal for gardens or beds. Therefore, understanding these types helps you choose wisely and create an efficient system.
For additional landscape support, explore our landscaping services to complement your irrigation project.
Assessing Your Lawn’s Watering Needs
Soil type plays a key role in water use. For instance, clay holds water longer but drains slowly. Conversely, sandy soil drains quickly and requires more watering. Loam balances both characteristics effectively. Moreover, sun exposure and slope matter too. Shaded areas need less water, while sloped lawns require careful placement to avoid runoff. Consequently, by analyzing these factors, your DIY sprinkler installation works with nature, not against it.
Choosing the Right Sprinkler System
Small lawns benefit from fixed spray heads. On the other hand, mid-size lawns need a mix of spray and rotary heads. Finally, large lawns require multiple rotary heads with adjustable arcs. Each choice ensures even coverage. As a result, correct planning avoids oversaturation or dry spots. Therefore, always select heads that match your lawn’s size and shape.
Gathering the Necessary Tools and Materials
Preparation prevents delays, and it also saves time during installation. Thus, collect trenching tools, pipe cutters, PVC primer, pipes, and fittings. Additionally, control valves, sprinkler heads, risers, and a controller are essential. A pressure regulator further helps keep balance. Most importantly, always use a backflow preventer to protect your water supply. With everything ready, DIY sprinkler installation becomes a smooth process.
Designing Your Sprinkler Layout
To begin, sketch your lawn to map zones, trees, and paths. Then, apply the head-to-head coverage principle. In other words, each sprinkler’s spray should reach the next head. This strategy prevents dry patches. While straightforward areas need triangular or square patterns, irregular areas may require adjustable heads. Therefore, proper design ensures efficiency and saves time later.
Installing the Main Water Line and Valves
Begin by connecting the main water line to your spigot. Next, install a backflow preventer for safety. Afterward, place valves in accessible boxes. Connect pipes securely using primer and cement. A careful installation prevents leaks. Consequently, always check alignment before covering trenches.
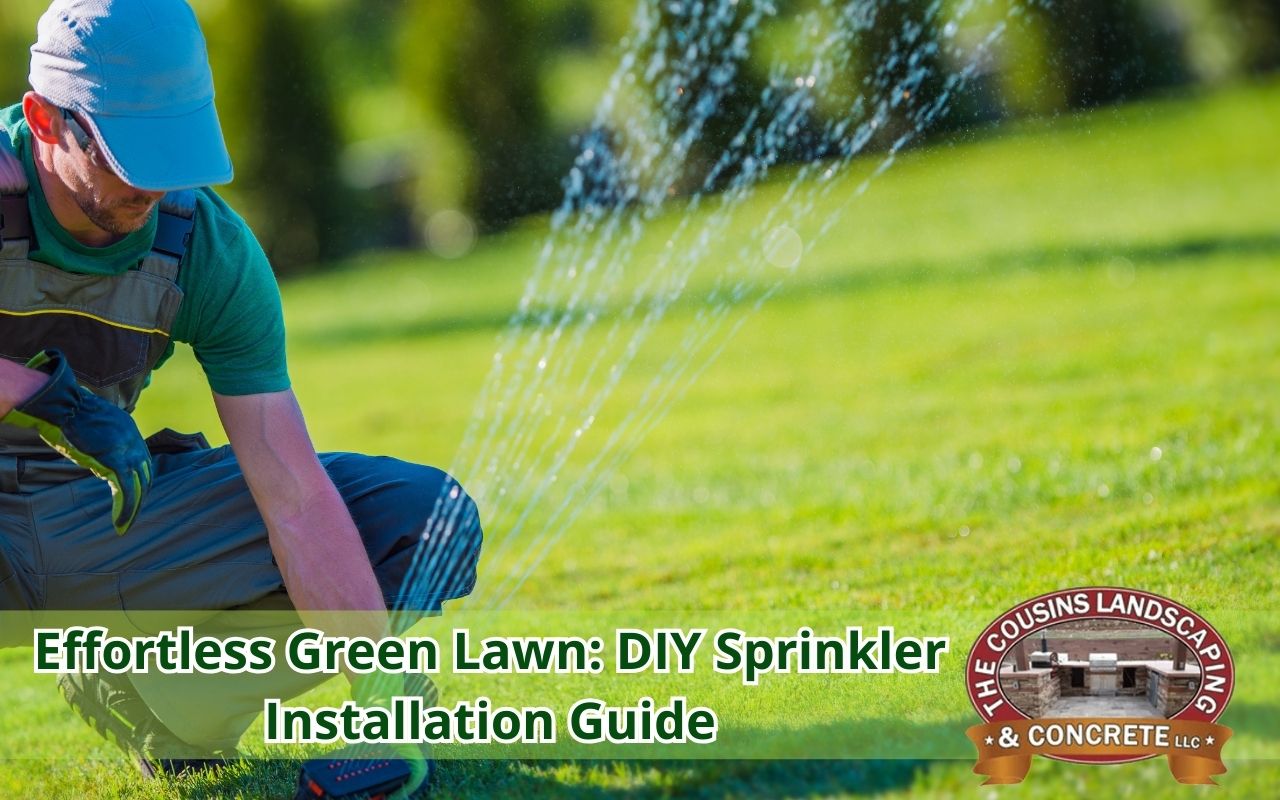
Placing and Adjusting Sprinkler Heads
Sprinkler heads should sit flush with the ground. This precaution prevents mower damage. Additionally, adjust each head to spray correctly. Rotary heads need free rotation. During testing, walk your yard to observe coverage. Then, adjust nozzles to avoid sidewalks and fences. As a result, a well-adjusted DIY sprinkler installation saves water and ensures even coverage.
Programming Your Sprinkler System
A controller automates watering efficiently. Therefore, program it for early mornings to reduce evaporation. Set run times according to soil and grass type. For example, use cycle-and-soak methods for clay soils. Moreover, add rain sensors for efficiency. Regular adjustments, in turn, keep your system effective season after season.
Troubleshooting Common Issues
Low pressure may mean clogs or leaks. Likewise, uneven spray often results from incorrect nozzles. Heads that fail to pop up usually have debris. In some cases, electrical issues may involve wiring or controllers. Nevertheless, step-by-step checks solve most problems without needing professionals.
Frequently Asked Questions
How deep should I trench for my DIY sprinkler installation?
Generally, dig trenches 6 to 12 inches deep. However, deeper trenches may be required in colder climates. Therefore, always follow local codes for safety.
Can I connect a sprinkler system to a standard faucet?
Yes, but ensure sufficient flow and pressure. Moreover, always use a backflow preventer. For larger systems, use a dedicated line.
How often should I inspect my DIY sprinkler installation for leaks?
Check your system at the start of each season. Additionally, perform mid-season checks after storms and before winterizing.
What maintenance does a sprinkler system need in winter?
Drain or blow out pipes before freezing. Furthermore, remove and store backflow preventers indoors. Finally, insulate valves and cover controllers.
Can I expand my system later?
Yes, if designed for growth. Therefore, leave extra capacity on controllers. In addition, install stub lines for easy expansion later.
Enjoying Your Effortless Green Lawn
A completed DIY sprinkler installation brings pride and efficiency. Consequently, it saves time and keeps your yard vibrant. With correct setup, your lawn thrives effortlessly. For extra help, contact our Brighton team or our Aurora company for expert guidance. Finally, if you are ready to get started, reach out through our contact page and bring your green lawn vision to life.